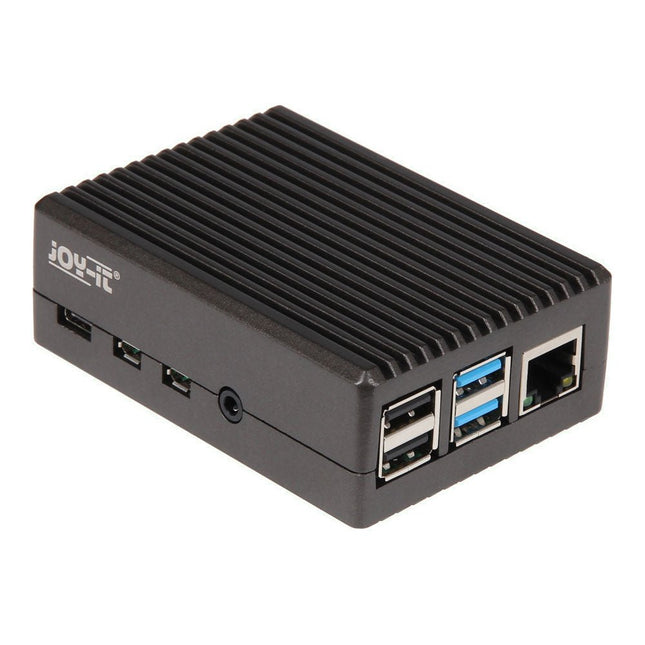
This aluminium case in a precious design is very robust and protects your Raspberry Pi 4 perfectly against outer influences. There are cut-outs for all interfaces to make them accessible. The channel milling at the top side serves as a heat sink and inside the housing the case is in direct contact with the CPU and the RAM to maximize cooling results. Features Color: Matt black (gun-metal black) Material: High-quality, cast aluminium Special Features: Channel milling which serves as a heatsink, cut outs for all interfaces, heatsink in contact with CPU and RAM of the Raspberry Pi for better cooling performance Dimensions: 91 x 65 x 34 mm Items delivered Aluminium case Screws Heat conduction pads
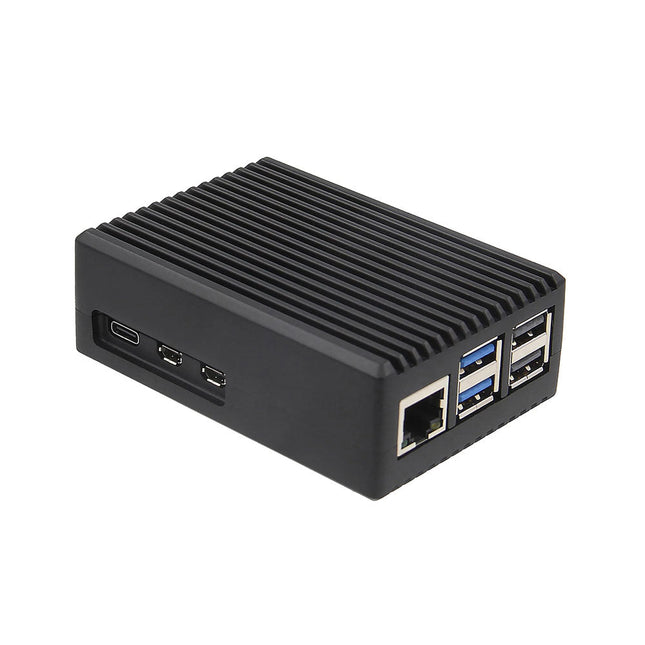
Deze robuuste, passieve aluminium koelbehuizing is speciaal gemaakt voor de Raspberry Pi 5 en biedt een strak ontwerp dat zowel duurzaamheid als effectieve warmteafvoer garandeert. De behuizing is exclusief compatibel met de Raspberry Pi 5 en biedt een passieve koeloplossing, waardoor er geen ventilator meer nodig is en de warmte toch efficiënt wordt beheerd.
Kenmerken
Hoogwaardige aluminium constructie: Deze behuizing is gemaakt van hoogwaardig aluminium en is gebouwd om lang mee te gaan en bestand te zijn tegen regelmatig gebruik.
Geoptimaliseerde warmteafvoer: Het passieve koelingsontwerp maakt gebruik van de aluminium structuur om uw Raspberry Pi 5 koel te houden zonder dat er een ventilator nodig is.
Volledige poorttoegankelijkheid: Elke poort op de Raspberry Pi 5 is gemakkelijk toegankelijk, van de microSD-kaartsleuf tot USB-, micro-HDMI- en GPIO-poorten.
GPIO-kabelondersteuning: Een gereserveerde interface voor de GPIO-kabel zorgt ervoor dat u deze belangrijke functie kunt blijven gebruiken zonder dat u de behuizing hoeft te verwijderen.
Handige aan/uit-schakelaar: De case heeft een geïntegreerde aan/uit-schakelaar waarmee u uw apparaat aan en uit kunt zetten.
If you are searching for a possibility to keep your Raspberry Pi cool, than this mini fan is the perfect possibility for this. The active cooler is ready to use right after pluging in the two GPIO pins into the 5V and GND GPI-O port. The cooler is compatible to all Raspberry Pis and is perfect to keep them cool, even under full load. Voltage: 5 V Current: 0.2 A Dimensions: 30 x 30 x 7 mm
The active cooler provides an alternative cooling solution for users who wish to use their Raspberry Pi 5 under sustained heavy load without a case. It combines a large metal heatsink with a variable-speed blower, again powered and controlled via the fan connector, and attaches to the Raspberry Pi 5 via sprung pins into a pair of mounting holes.
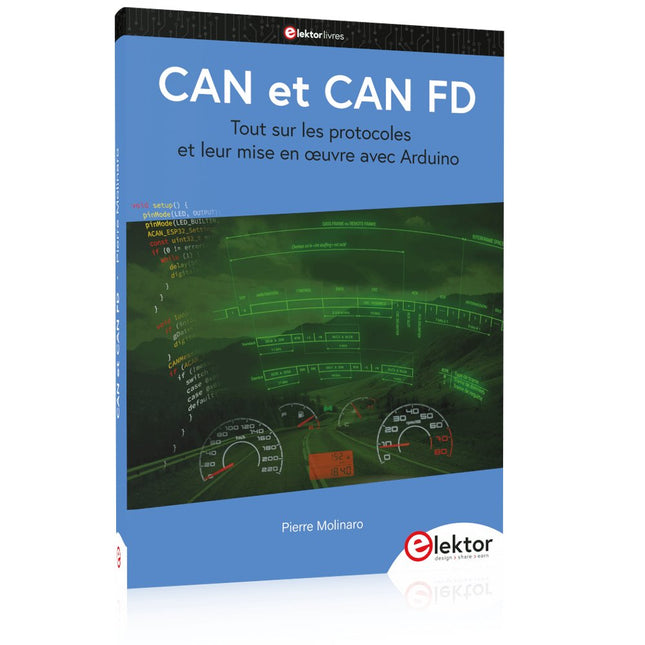
Tout sur les protocoles et leur mise en œuvre avec Arduino
Initialement destiné aux véhicules routiers, le réseau CAN (« Controller Area Network ») et son successeur le réseau CAN FD (« Flexible Data ») ont vu leurs champs d’application s’élargir à de nouveaux domaines. L’industrie propose de nombreux modules microcontrôleurs dotés d’une interface CAN et/ou CAN FD. L’environnement de développement Arduino a démocratisé la programmation de ces modules et il existe des bibliothèques qui implémentent un pilote CAN et/ou un pilote CAN FD.
La première partie dresse un rapide historique des réseaux CAN et CAN FD et expose la problématique des lignes de transmission en abordant succinctement leur théorie et présentant des résultats de simulation Spice.
La deuxième partie est consacrée au réseau CAN, en détaillant successivement la fonction logique du réseau, les transcepteurs, les contrôleurs, la topologie la plus classique (le bus) et d’autres moins courantes, les répéteurs et les passerelles. Les aspects particuliers du protocole, tels que le bit stuffing, l’arbitrage, les trames d’erreur, la détection des erreurs sont exposés. La discussion de la fiabilité du protocole est illustrée par des exemples mettant en évidence ses faiblesses.
La troisième partie présente le protocole CAN FD, ses deux variantes CAN FD ISO et CAN FD non ISO, leurs fiabilités, leurs faiblesses, mises en évidence par des exemples. Différents transcepteurs et contrôleurs CAN FD sont décrits.
La quatrième partie est dédiée aux applications : comment utiliser les services d’un pilote, concevoir une messagerie, utiliser un analyseur logique. Deux exemples d’application terminent cette partie.
Ce livre s’adresse aux amateurs et aux ingénieurs non spécialistes pour comprendre les possibilités qu’offre un réseau CAN et comment on le met en œuvre. Un enseignant trouvera des informations pour approfondir ses connaissances et pour concevoir des travaux pratiques. Une connaissance des microcontrôleurs, de leur programmation, de l’électronique numérique aidera à la lecture des schémas. La connaissance du langage C++ et du langage de simulation électronique Spice facilitera la compréhension des programmes qui sont décrits dans le livre. Tous les codes source sont disponibles sur le dépôt GitHub de l’auteur.
Téléchargements
GitHub
Deze complete vervangende filterset voor de Aoyue 8486 rookafzuiger bevat een HEPA (High Efficiency Particulate Air) filter, een katoenen lucht-(sub)filter en een actief koolstof luchtfilter.
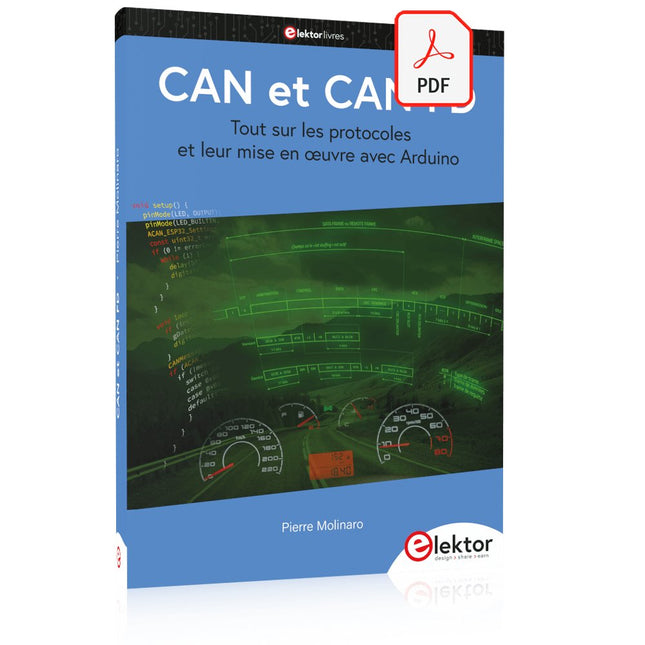
Tout sur les protocoles et leur mise en œuvre avec Arduino
Initialement destiné aux véhicules routiers, le réseau CAN (« Controller Area Network ») et son successeur le réseau CAN FD (« Flexible Data ») ont vu leurs champs d’application s’élargir à de nouveaux domaines. L’industrie propose de nombreux modules microcontrôleurs dotés d’une interface CAN et/ou CAN FD. L’environnement de développement Arduino a démocratisé la programmation de ces modules et il existe des bibliothèques qui implémentent un pilote CAN et/ou un pilote CAN FD.
La première partie dresse un rapide historique des réseaux CAN et CAN FD et expose la problématique des lignes de transmission en abordant succinctement leur théorie et présentant des résultats de simulation Spice.
La deuxième partie est consacrée au réseau CAN, en détaillant successivement la fonction logique du réseau, les transcepteurs, les contrôleurs, la topologie la plus classique (le bus) et d’autres moins courantes, les répéteurs et les passerelles. Les aspects particuliers du protocole, tels que le bit stuffing, l’arbitrage, les trames d’erreur, la détection des erreurs sont exposés. La discussion de la fiabilité du protocole est illustrée par des exemples mettant en évidence ses faiblesses.
La troisième partie présente le protocole CAN FD, ses deux variantes CAN FD ISO et CAN FD non ISO, leurs fiabilités, leurs faiblesses, mises en évidence par des exemples. Différents transcepteurs et contrôleurs CAN FD sont décrits.
La quatrième partie est dédiée aux applications : comment utiliser les services d’un pilote, concevoir une messagerie, utiliser un analyseur logique. Deux exemples d’application terminent cette partie.
Ce livre s’adresse aux amateurs et aux ingénieurs non spécialistes pour comprendre les possibilités qu’offre un réseau CAN et comment on le met en œuvre. Un enseignant trouvera des informations pour approfondir ses connaissances et pour concevoir des travaux pratiques. Une connaissance des microcontrôleurs, de leur programmation, de l’électronique numérique aidera à la lecture des schémas. La connaissance du langage C++ et du langage de simulation électronique Spice facilitera la compréhension des programmes qui sont décrits dans le livre. Tous les codes source sont disponibles sur le dépôt GitHub de l’auteur.
Téléchargements
GitHub
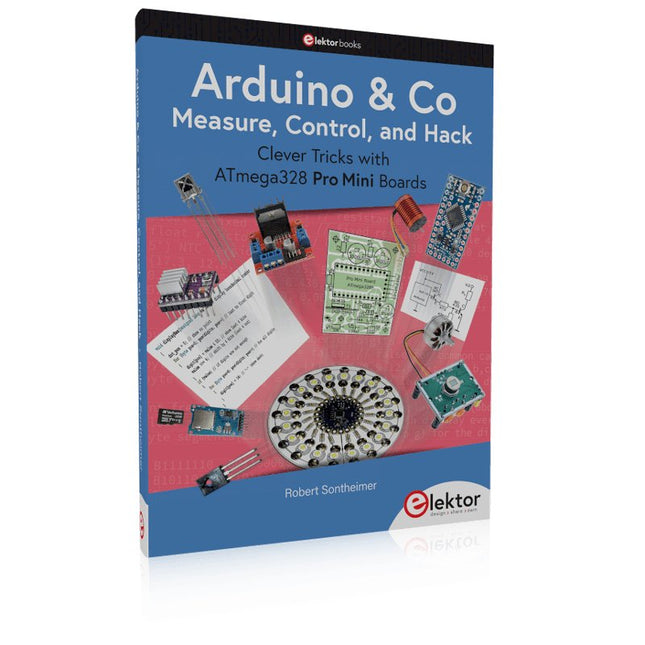
Clever Tricks with ATmega328 Pro Mini BoardsWith a simple Pro Mini board and a few other components, projects that 20 or 30 years ago were unthinkable (or would have cost a small fortune) are realized easily and affordably in this book: From simple LED effects to a full battery charging and testing station that will put a rechargeable through its paces, there’s something for everyone.All the projects are based on the ATmega328 microcontroller, which offers endless measuring, switching, and control options with its 20 input and output lines. For example, with a 7-segment display and a few resistors, you can build a voltmeter or an NTC-based thermometer. The Arduino platform offers the perfect development environment for programming this range of boards.Besides these very practical projects, the book also provides the necessary knowledge for you to create projects based on your own ideas. How to measure, and what? Which transistor is suitable for switching a certain load? When is it better to use an IC? How do you switch mains voltage? Even LilyPad-based battery-operated projects are discussed in detail, as well as many different motors, from simple DC motors to stepper motors.Sensors are another exciting topic: For example, a simple infrared receiver that can give disused remote controls a new lease on life controlling your home, and a tiny component that can actually measure the difference in air pressure between floor and table height!
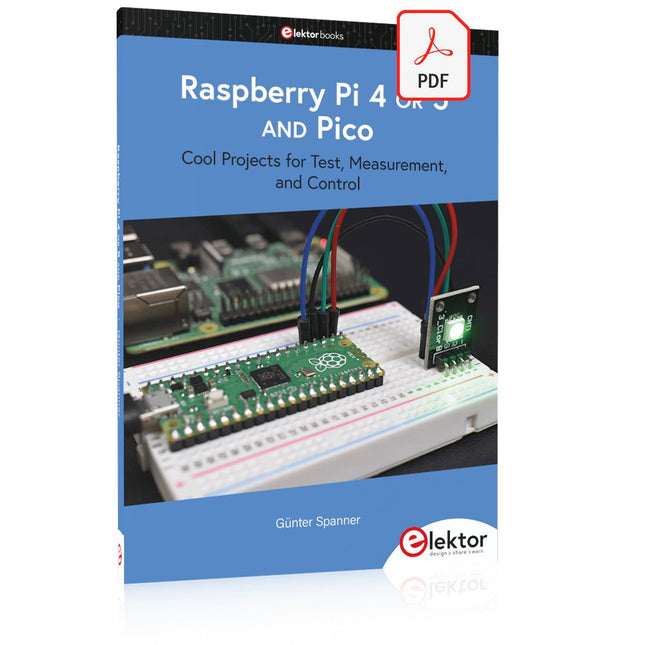
Cool Projects for Test, Measurement, and Control
The Raspberry Pi has dominated the maker scene for many years. Freely accessible I/O pins have made it one of the most popular processor boards of all time. However, the classic Raspberry Pi has no analog inputs. Direct measurement of analog values is therefore not possible. Consequently, photodiodes, NTCs, Hall sensors, etc. cannot be read directly. In addition, the pins are connected directly to the exposed contacts, i.e. without a driver or protection circuit. This can quickly destroy the central controller and thus the entire Raspberry Pi.
These problems can be elegantly solved with the Pico. As a front-end, it can easily handle a wide range of measurement tasks. In addition, the Pico is much cheaper than a classic Raspberry Pi 4 or 5. If a faulty circuit leads to the destruction of the Pico, this is relatively easy to handle. This makes the combination of a classic Raspberry Pi 4 or 5 and the Pico an ideal pair.
The book introduces the broad and highly topical field of modern controller technology using the combined force of a Raspberry Pi 4 or 5 and a Raspberry Pi Pico. In addition to a detailed introduction to the operation and functionality of the controller boards themselves, the book also focuses on data acquisition and processing with digital processors. Especially the combination of both systems offers a wide range of interesting possibilities.
Some practical projects from the contents:
USB between Raspberry Pi 4 or 5 and Pico
I²C Communication and Pico as an I²C device
Voltmeter and Computer Thermometer
Pico W as a Web Server and WLAN Scanner
Frequency Meters and Generators
OLED Displays on Raspberry Pi 4 or 5 and Pico
Energy Saving Monitor
Which Astronauts are in Orbit?
Mini Monitor for Current Bitcoin Exchange Rate
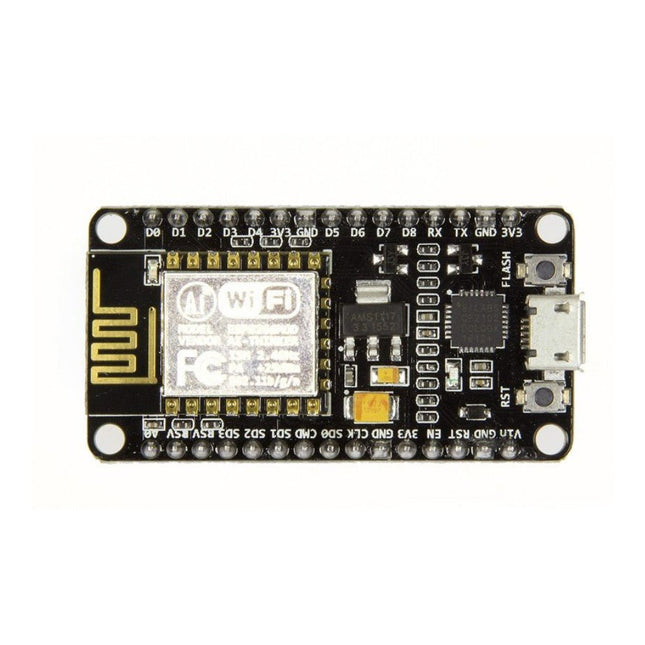
Note: NodeMCU is the name of both a firmware and a boardNodeMCU is an open source IoT platform, whose firmware runs on Espressif's SoC Wi-Fi ESP8266, based on the ESP8266 nonOS SDK. Its hardware is based on the ESP-12 module. The scripting language is Lua which allows to use many open source projects like lua-cjson and spiffs.Features
Wi-Fi Module – ESP-12E module similar to ESP-12 module but with 6 extra GPIOs.
USB – micro USB port for power, programming and debugging
Headers – 2x 2.54 mm 15-pin header with access to GPIOs, SPI, UART, ADC, and power pins
Reset & Flash buttons
Power: 5V via micro USB port
Dimensions: 49 x 24.5 x 13 mm
Cool Projects for Test, Measurement, and Control
The Raspberry Pi has dominated the maker scene for many years. Freely accessible I/O pins have made it one of the most popular processor boards of all time. However, the classic Raspberry Pi has no analog inputs. Direct measurement of analog values is therefore not possible. Consequently, photodiodes, NTCs, Hall sensors, etc. cannot be read directly. In addition, the pins are connected directly to the exposed contacts, i.e. without a driver or protection circuit. This can quickly destroy the central controller and thus the entire Raspberry Pi.
These problems can be elegantly solved with the Pico. As a front-end, it can easily handle a wide range of measurement tasks. In addition, the Pico is much cheaper than a classic Raspberry Pi 4 or 5. If a faulty circuit leads to the destruction of the Pico, this is relatively easy to handle. This makes the combination of a classic Raspberry Pi 4 or 5 and the Pico an ideal pair.
The book introduces the broad and highly topical field of modern controller technology using the combined force of a Raspberry Pi 4 or 5 and a Raspberry Pi Pico. In addition to a detailed introduction to the operation and functionality of the controller boards themselves, the book also focuses on data acquisition and processing with digital processors. Especially the combination of both systems offers a wide range of interesting possibilities.
Some practical projects from the contents:
USB between Raspberry Pi 4 or 5 and Pico
I²C Communication and Pico as an I²C device
Voltmeter and Computer Thermometer
Pico W as a Web Server and WLAN Scanner
Frequency Meters and Generators
OLED Displays on Raspberry Pi 4 or 5 and Pico
Energy Saving Monitor
Which Astronauts are in Orbit?
Mini Monitor for Current Bitcoin Exchange Rate