Die Programmiersprache „Python“ hat in den letzten Jahren einen enormen Aufschwung erlebt. Nicht zuletzt haben verschiedene Einplatinensysteme wie der Raspberry Pi zu deren Bekanntheitsgrad beigetragen. Aber auch in anderen Gebieten, wie der Künstlichen Intelligenz oder dem Machine Learning, hat Python weite Verbreitung gefunden. Es ist daher naheliegend, Python bzw. die Variante „MicroPython“ auch für den Einsatz in SoCs (Systems on Chip) zu verwenden.
Leistungsfähige Controller wie der ESP32 der Firma Espressif Systems bieten eine hervorragende Performance sowie Wi-Fi- und Bluetooth-Funktionalität zu einem günstigen Preis. Mit diesen Eigenschaften wurde die Maker-Szene im Sturm erobert. Im Vergleich zu anderen Controllern weist der ESP32 einen deutlich größeren Flash und SRAM-Speicher, sowie eine wesentlich höhere CPU-Geschwindigkeit auf. Aufgrund dieser Leistungsmerkmale eignet sich der Chip nicht nur für klassische C-Anwendungen, sondern insbesondere auch für die Programmierung mit MicroPython.
Das vorliegende Buch führt in die Anwendung der modernen Ein-Chip-Systeme ein. Neben den technischen Hintergründen steht vor allem MicroPython selbst im Vordergrund. Nach der Einführung in die Sprache werden die erlernten Programmierkenntnisse umgehend in die Praxis umgesetzt. Die einzelnen Projekte sind sowohl für den Einsatz im Labor als auch für Alltagsanwendungen geeignet. Neben dem eigentlichen Lerneffekt steht also auch die Freude am Aufbau kompletter und nützlicher Geräte im Vordergrund. Durch die Verwendung von Laborsteckboards können Schaltungen aller Art mit geringem Aufwand realisiert werden, sodass das Austesten der selbstgebauten Geräte zum lehrreichen Vergnügen wird.
Durch die verschiedenen Anwendungen wie Wetterstationen, Digitalvoltmeter, Ultraschall-Entfernungsmesser, RFID-Kartenleser oder Funktionsgeneratoren sind die vorgestellten Projekte auch für Praktika oder Fach- und Studienarbeiten in den Naturwissenschaften bzw. im Natur- und Technikunterricht bestens geeignet.
Open-Source-Code mit Arduino IDE und PlatformIO
Autonomes Fahren: GPS, Accelerometer, Gyroskop
PS3-Controller
Mikrocontroller wie der Arduino und Einplatinenrechner wie der Raspberry Pi haben sich zu beliebten Komponenten entwickelt. Dritter im Bunde ist der ESP32 der Firma Espressif. Mikrocontroller dieser Baureihe zeichnen sich durch eine Vielzahl implementierter Funktionen aus, die bei einem Arduino konventioneller Prägung mit einem Atmel-AVR-Mikrocontroller erst mit weiterer Hardware möglich sind. Prominentes Beispiel sind hier die WiFi- und Bluetooth-Funktionalitäten. Gegenüber einem Raspberry Pi zeichnen sie sich durch einen deutlich geringeren Preis aus.
Allgemeine Informationen für die Realisierung eines Roboterauto-Projekts mit dem ESP32 sind leicht zu finden. Dabei handelt es sich aber oft nur um Ausführungen zu einem Teilaspekt, ohne inhaltliche oder funktionale Abstimmung. So ist nicht nur die Beschaffung der benötigten Informationen mühselig und zeitaufwändig, sie kann auch außerordentlich fehlerträchtig sein.
Ansatzpunkt dieses Buches ist, diese Lücke zu schließen. Es geht auf verschiedene Möglichkeiten eines Chassis ein, vermittelt nötige Kenntnisse und führt schrittweise von einer einfachen Motorsteuerung zu einem komplexen sensor- und sprachgesteuerten Roboterauto. Hacks rund um GPS und eine PlayStation 3 runden die Sache ab.
Inhalt
Bei der Reihenfolge der Kapitel wurde versucht – beginnend bei der Darstellung von grundlegenden Informationen – über die Lösung einfacher Aufgaben zu etwas anspruchsvolleren Techniken zu führen.
Der Mikrocontroller ESP32
Die Software erstellen
Die Stromversorgung
Rund um die Hardware
Das Chassis
Der Gleichstrommotor
Kabellose Steuerung über WiFi
Mit Sensoren Hindernisse erkennen
Eine eigene Roboterauto-App
Servo und Lichtsensor
GPS
Accelerometer / Gyroskop
PS3-Controller
Roboterauto-App
Hinweis zur Software
Die Dateien haben das Suffix (.cpp). Grund ist die Entwicklung mit PlatformIO. Mit Copy & Paste sollten sie auch in der Arduino-IDE verwendet werden können.
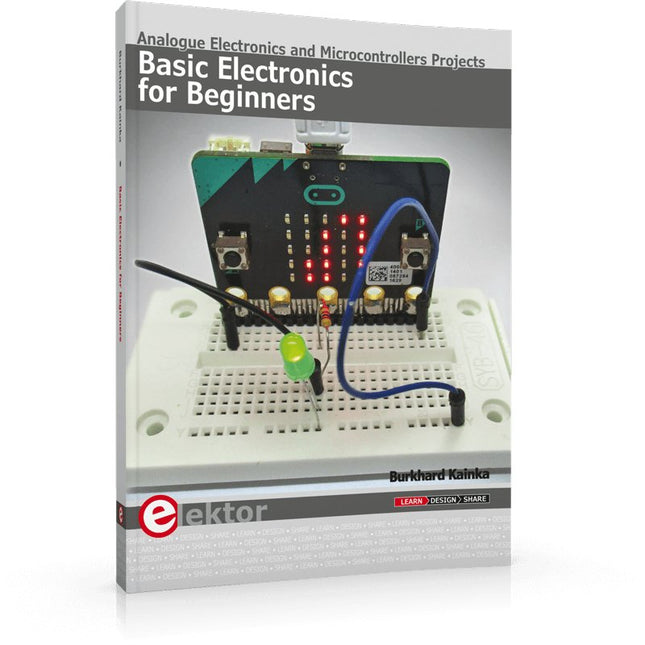
Analogue Electronics and Microcontrollers Projects
Hobbyist electronics can be a fun way to learn new skills that can be helpful to your career. Those who understand the basics of electronics can design their own circuits and projects. However, before you run, you need to learn to walk.
It all starts with analogue electronics. You should be familiar with the simple components and circuits and understand their basic behaviors and the issues you may encounter. The best way to do this is through real experiments. Theory alone is not enough. This book offers a large number of practical entry-level circuits, with which everyone can gain the basic experience.
Through the widespread introduction of microcontrollers, a new chapter in electronics has begun. Microcontrollers are now performing more and more tasks that were originally solved using discrete components and conventional ICs. Starting out has become easier and easier thanks to platforms including Bascom, Arduino, micro:bit. The book introduces numerous manageable microcontroller applications. It’s now a case of less soldering and more programming.
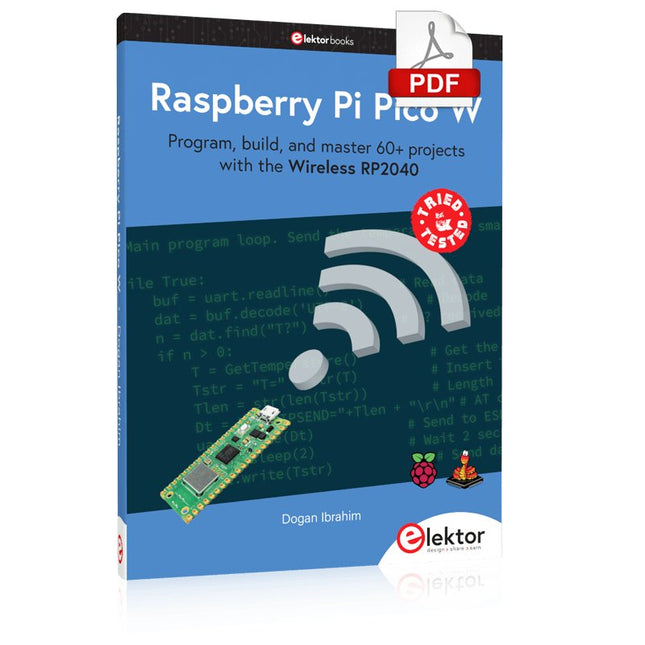
Program, build, and master 60+ projects with the Wireless RP2040
The Raspberry Pi Pico and Pico W are based on the fast, efficient, and low-cost dual-core ARM Cortex M0+ RP2040 microcontroller chip running at up to 133 MHz and sporting 264 KB of SRAM and 2 MB of Flash memory. Besides spacious memory, the Pico and Pico W offer many GPIO pins, and popular peripheral interface modules like ADC, SPI, I²C, UART, PWM, timing modules, a hardware debug interface, and an internal temperature sensor.
The Raspberry Pi Pico W additionally includes an on-board Infineon CYW43439 Bluetooth and Wi-Fi chipset. At the time of writing this book, the Bluetooth firmware was not yet available. Wi-Fi is however fully supported at 2.4 GHz using the 802.11b/g/n protocols.
This book is an introduction to using the Raspberry Pi Pico W in conjunction with the MicroPython programming language. The Thonny development environment (IDE) is used in all of the 60+ working and tested projects covering the following topics:
Installing the MicroPython on Raspberry Pi Pico using a Raspberry Pi or a PC
Timer interrupts and external interrupts
Analogue-to-digital converter (ADC) projects
Using the internal temperature sensor and external sensor chips
Using the internal temperature sensor and external temperature sensor chips
Datalogging projects
PWM, UART, I²C, and SPI projects
Using Bluetooth, WiFi, and apps to communicate with smartphones
Digital-to-analogue converter (DAC) projects
All projects are tried & tested. They can be implemented on both the Raspberry Pi Pico and Raspberry Pi Pico W, although the Wi-Fi-based subjects will run on the Pico W only. Basic programming and electronics experience are required to follow the projects. Brief descriptions, block diagrams, detailed circuit diagrams, and full MicroPython program listings are given for all projects.
Trek de hendel naar beneden voor de hoogste score!Deze Elektor Circuit Classic uit 1984 toont een speelse toepassing van logische IC's uit de CMOS 400x serie in combinatie met leds, destijds een zeer populaire combinatie. Het project imiteert een gokkast met ronddraaiende cijfers.Het spelVoordat het spel start dient u eerst het aantal rondes af te spreken. Speler 1 trekt de schakelhendel naar beneden zo lang als hij wenst en laat hem dan los. De leds tonen vervolgens de score die de som is van de 20-10-5-2-1 leds die oplichten. Mocht het Play Again! ledje gaan branden dan heeft speler 1 een extra 'gratis' ronde. Zo niet, dan is speler 2 aan de beurt. De spelers houden hun scores bij en de hoogste score wint.Kenmerken
Leds geven de score aan
Meerdere spelers en Play Again!
Elektor Heritage circuit symbolen
Uitgeprobeerd en getest door Elektor Labs
Educatief en nerdy project
Through-hole onderdelen
Inbegrepen
Printplaat
Alle componenten
Houten standaard
Stuklijst
Weerstanden (5%, 250 mW)
R1, R2, R3, R4 = 100 kΩ
R5, R6, R7, R8, R9, R10 = 1 kΩ
Condensatoren
C1 = 4,7 nF, 10 %, 50 V, 5 mm
C2 = 4,7 μF, 10%, 63 V, axiale
C3, C4 = 100 nF, 10 %, 50 V, keramiek X7R, 5 mm
Halfgeleiders
Led1 – Led6 = rood, 5 mm (T1 3/4)
IC1 = 74HC4024
IC2 = 74HC132
Diversen
S1 = schakelaar, tuimel, 21 mm hendel, SPDT, kortstondig
S2 = schakelaar, tactiel, 24 V, 50 mA, 6x6 mm
S3 = schakelaar, schuif, SPDT
IC1, IC2 = IC-voetje, DIP14
BT1 = CR2032 PCB batterijhoudertje
Tafel standaard
PCB 230098-1
Niet inbegrepen: BT1 = CR2032 knoopcel batterij
Hebt u altijd al uw elektronicaproject willen aansturen vanuiteen kleurrijke app op een Android smartphone of tablet? Dat is mogelijk met het in dit boek beschreven Android I/O-board. Met de bijbehorende software-library kunt u in Android Studio eenvoudig zelf een app programmeren die dit mogelijk maakt.
Het Android I/O-board (los verkrijgbaar, wordt niet met boek meegeleverd!) bezit 22 pennen die u vanuit een app kunt aansturen als digitale I/O, ADC, PWM, touch-sensing en counter. Het Android I/O-board kan met de Android smartphone communiceren via Bluetooth, WiFi of USB. Het board is ook als datalogger te gebruiken. Kortom, dit is een veelzijdig board dat in ieder project past.
Dit boek beschrijft stap voor stap hoe u uw project tot een succes kunt maken. Het boek behandelt gestructureerd de volgende onderwerpen:
Een snelle handleiding hoe u uw Android I/O-board up and running krijgt.
Een uitleg van alle mogelijkheden van het Android I/Oboard, met uitgebreide voorbeelden bij de verschillende opties.
Een stap-voor-stap handleiding hoe u een app kunt programmeren in Android Studio.
Een beschrijving van de firmware op het Android I/O-board en hoe u dit zelf met MPLAB-X kunt aanpassen.
Voorbeeld-projecten om inspiratie op te doen hoe u uw eigen project kunt aansturen met het Android I/O-board.
De Formula Flowcode Robot is een combinatie van analoge en digitale elektronica. De robot zit boordevol sensoren en actuatoren, en is grafisch programmeerbaar met Flowcode-software. Hierdoor vormt het een leuk en motiverend platform om kennis te maken met moderne elektronica en technologie.
Via de robot en deze handleiding kun je op uitdagende manier kennis maken met basiselektronica. Onderwerpen die aan bod komen zijn analoog en digitaal, logische poorten, diode, LCD, microcontrollers, frequentie, sensoren, actuatoren, infrarood, meet- en regeltechniek, servomotoren, gelijkrichting, programmeren en nog veel meer.
Le téléchargement intégral de ce numéro est disponible pour nos membres GOLD et GREEN sur le site Elektor Magazine !
Pas encore membre ? Cliquez ici.
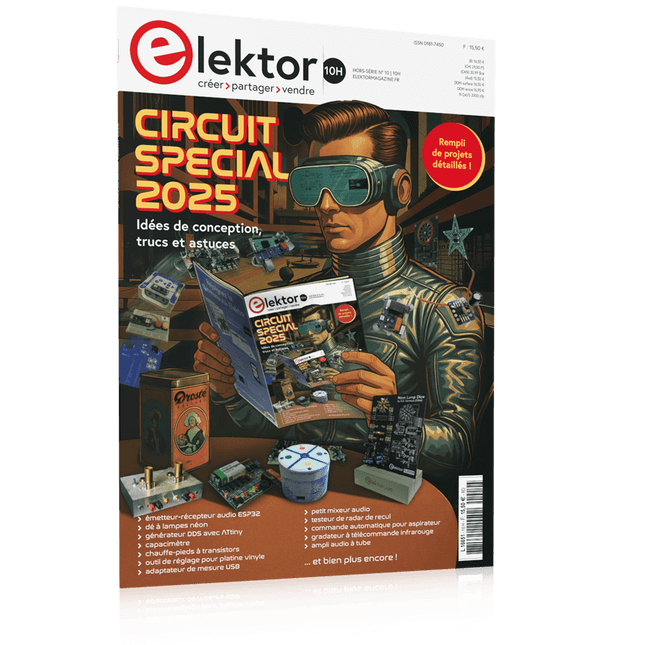
adaptateur de mesure USBTest du courant et des signaux des ports USB
sortie boucle de courant 4-20 mA pour Arduino UnoUne interface de boucle de courant fiable et insensible aux interférences électromagnétiques
commande automatique pour aspirateurGardez votre établi propre
générateur DDS avec ATtiny
testeur d'ampli-op V2Nouveau circuit imprimé – désormais compatible avec les CMS
amplificateur audio à tube 550 mWson chaleureux des tubes à vide
surveillance des fusiblesavec une LED clignotante
préamplificateur RIAA HQExploitez tout le potentiel sonore de vos disques vinyles !
Outil de réglage pour platines vinylesGénérateur de lumière stroboscopique 100–120 Hz basé sur Arduino
Elektor Classics : ampli vidéo
gradateur à télécommande infrarougeContrôlez votre éclairage avec confort et précision
comment utiliser switch…case avec des chaînes de caractères en C++/EDI Arduino
détecteur d’aimantsAvec un simple capteur à effet Hall
bouton de mise sous tension intelligent pour Raspberry PiUne solution pour Raspberry Pi jusqu’au modèle 4
astuces clés pour makersDes conseils pros pour vos projets
projets pratiques avec le timer 555Commande de moteur CC et jeux de rapidité
moniteur de charge CA simpleÉconomisez de l'énergie grâce à un appareil simple
batteries externes en parallèleTrois jours d’autonomie
VFO jusqu’à 15 MHzRéalisation avec un Raspberry Pi Pico
accordeur de violon avec ATtiny202
Elektor Classics : ampli vidéo pour TV N&B
capacimètre20 pF à 600 nF
horloge quasi analogique Mk IIDeux anneaux LED pour les heures et les minutes
concevez sans limites(grâce à l’écosystème complet d’Arduino)
dé à lampes néon
Elektor Classics : indicateur d'accord RTTY
solutions matérielles inspirantes pour vos projets ESP
Elektor Classics : alimentation 3 A
LED RGB avec circuit de commande intégréLumière de précision : les ICLED établissent de nouvelles normes
expérience : un Thérémine analogico-numérique ?Combiner des capteurs numériques modernes avec l’intemporel générateur analogique XR2206
carte émetteur-récepteur audio ESP32 (1)Démo : lecture de fichiers WAV depuis une carte SD
infographies : Circuits et conception de circuits 2025
petit mixeur audioUne conception polyvalente et modulable
minuteur intelligent pour éclairage d’escalierÉconomisez encore plus sur votre facture d’énergie !
modernisez vos voletsContrôlez les systèmes Velux avec un ESP32 et MQTT
chauffe-pieds à transistorsConfort économe en énergie
le quadricoptère M5Stamp Fly est-il le prochain drone Tello ? (Revue)
optimiser la portée Wi-Fi de l’ESP32-C3 SuperMiniUne modification d’antenne simple et efficace
station de soudage à air chaud ZD-8968Un outil de travail économique ou uniquement de l'air chaud ?
testeur de radar de reculDétecter les pannes du système d’aide au stationnement d’un véhicule
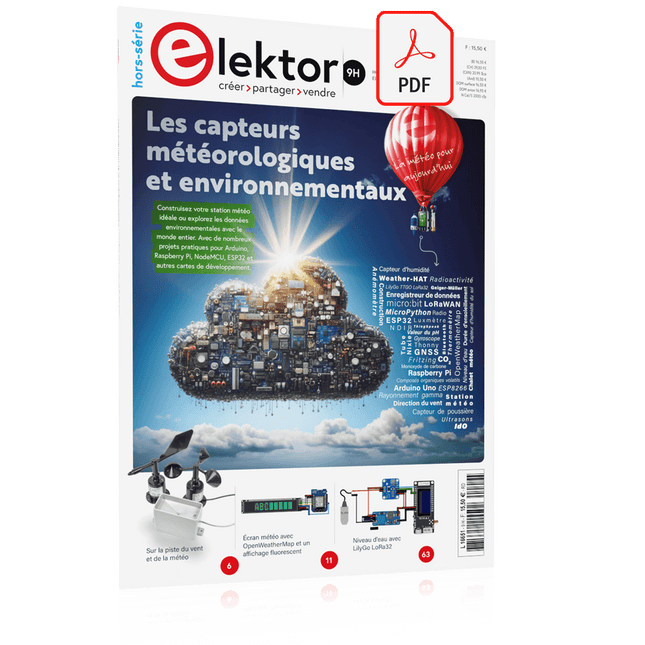
Construisez votre station météo idéale ou explorez les données environnementales avec le monde entier. Avec de nombreux projets pratiques pour Arduino, Raspberry Pi, NodeMCU, ESP32 et autres cartes de développement.
Les stations météo jouissent d’une grande popularité depuis des décennies. Tous les magazines d’électronique, qu’ils soient récents ou non, ont publié et publient régulièrement des articles sur la construction d’une station météo. Au fil des années, elles sont devenues de plus en plus sophistiquées et peuvent aujourd’hui être entièrement intégrées dans la maison intelligente. Ceci implique toutefois souvent une fidélité à un fabricant de produits de marque (coûteux) pour tous les composants.
Cependant, avec votre propre station météo, vous pouvez facilement suivre le rythme et même capturer des relevés que les appareils commerciaux ne peuvent pas réaliser. Le plaisir ne manque pas : vous développerez de manière ludique vos connaissances en électronique, en cartes de développement de microcontrôleurs modernes et en langages de programmation. Pour moins de dix euros, vous pouvez collecter des données environnementales initiales et étendre votre système au fur et à mesure que votre intérêt grandit.
Dans ce numéro
Sur la route du vent et de la météo
Écran météo OpenWeatherMap à affichage fluorescent
Les composés organiques volatils dans l‘air que nous respirons
Travailler avec les capteurs MQ : mesurer le monoxyde de carbone
Détecteur de CO2 avec connexion IdO vers ThingSpeak
Un arrosage automatique pour vos plantes
Un climat intérieur sain : la température et l‘humidité de l‘air sont importants
Thermomètre avec tubes Nixie
Une maison météo rétro pour toute la famille
Mesurez la pression atmosphérique et la température avec précision
Un détecteur de coups de soleil
Capteur maison pour la durée d‘ensoleillement
Le smartphone l‘indique : brouillard ou bonne visibilité ?
Détecter les tremblements de terre
Les niveaux des cours d‘eau et des réservoirs
Évaluer la valeur du pH de l’eau
Détecter les rayonnements radioactifs
Avec le GPS, vous savez où se trouve votre capteur
Enregistrer les fichiers journaux avec horodatage sur des cartes SD
LoRaWAN, The Things Network et ThingSpeak
Exploiter la passerelle LoRaWAN pour le TTN
Affichage géant à led avec prévisions météo
Learning Embedded Systems with STM32 Nucleo Boards
Programming compact electronic systems is now easier to get started with than ever before. Affordable development boards, powerful software tools, and readily available documentation make it possible to turn an idea into a working prototype in very little time. MicroPython plays an important role in this development by offering a readable, interactive way to control microcontrollers while still providing direct access to their hardware features.
This book explores embedded programming with MicroPython using an STM32-based Nucleo board. It shows how a microcontroller continuously interacts with its environment by reading inputs, processing information, and controlling outputs. Step by step, you will learn to flash LEDs, measure analog signals, work with sensors, control actuators, and exchange data with other devices. The built-in REPL makes it easy to test instructions immediately, inspect results, and learn through experimentation.
Although microcontroller boards differ in size, speed, memory, and peripherals, the fundamental concepts remain largely the same. Digital input and output, analog conversion, timers, PWM, interrupts, and serial communication are the essential building blocks of embedded applications.
By concentrating on these transferable principles, the book provides a foundation that remains useful when moving to other boards, processors, or development environments.
It is intended both for newcomers and for programmers who want to expand into embedded systems. MicroPython offers a practical route into this field, combining quick results with a clear understanding of how software and hardware work together.