Programming the Finite State Machine with 8-Bit PICs in Assembly and C
Andrew Pratt provides a detailed introduction to programming PIC microcontrollers, as well as a thorough overview of the Finite State Machine (FSM) approach to programming. Most of the book uses assembly programming, but do not be deterred. The FSM gives a structure to a program, making it easy to plan, write, and modify. The last two chapters introduce programming in C, so you can make a direct comparison between the two techniques. The book references the relevant parts of the Microchip datasheet as familiarity with it is the best way to discover detailed information.
This book is aimed at Microsoft Windows and Linux users. To keep your costs to a minimum and to simplify the toolchain, specific applications are provided as a free download to enable you to use an FTDI serial lead as the programmer. The assembler used is the open-source "gpasm". All programming can be done in a text editor. There are detailed instructions on how to perform the necessary installations on Windows, Linux Debian, and derivatives such as Ubuntu and Fedora. For programming in C, Microchip's XC8 compiler is used from the command line. In addition to the programming applications, two serial read and serial write applications can be used for communicating with the PICs from a computer.
A voltmeter project including practical instructions on building a circuit board from scratch is included. All theory is covered beforehand, including how to do integer arithmetic in assembly.
Two PICs are covered: the PIC12F1822 and the PIC16F1823. Both can run at 32 MHz with an internal oscillator. You do not need to buy a factory-made development board and programmer. With relatively inexpensive parts including a serial lead, microcontroller, a few resistors, and LEDs, you can get started exploring embedded programming.
Links
Updated Programmer
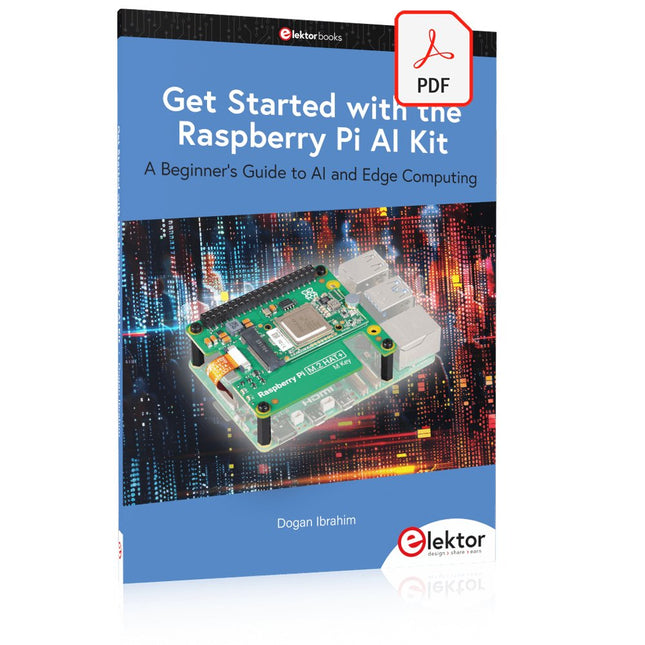
A Beginner's Guide to AI and Edge Computing
Artificial Intelligence (AI) is now part of our daily lives. With companies developing low-cost AI-powered hardware into their products, it is now becoming a reality to purchase AI accelerator hardware at comparatively very low costs. One such hardware accelerator is the Hailo module which is fully compatible with the Raspberry Pi 5. The Raspberry Pi AI Kit is a cleverly designed hardware as it bundles an M.2-based Hailo-8L accelerator with the Raspberry Pi M.2 HAT+ to offer high speed inferencing on the Raspberry Pi 5. Using the Raspberry Pi AI Kit, you can build complex AI-based vision applications, running in real-time, such as object detection, pose estimation, instance segmentation, home automation, security, robotics, and many more neural network-based applications.
This book is an introduction to the Raspberry Pi AI Kit, and it is aimed to provide some help to readers who are new to the kit and wanting to run some simple AI-based visual models on their Raspberry Pi 5 computers. The book is not meant to cover the detailed process of model creation and compilation, which is done on an Ubuntu computer with massive disk space and 32 GB memory. Examples of pre-trained and custom object detection are given in the book.
Two fully tested and working projects are given in the book. The first project explains how a person can be detected and how an LED can be activated after the detection, and how the detection can be acknowledged by pressing an external button. The second project illustrates how a person can be detected, and how this information can be passed to a smart phone over a Wi-Fi link, as well as how the detection can be acknowledged by sending a message from the smartphone to your Raspberry Pi 5.
Le téléchargement intégral de ce numéro est disponible pour nos membres GOLD et GREEN sur le site Elektor Magazine !
Pas encore membre ? Cliquez ici.
l'ESP-BLASTUn mini drone-fusée ESP32 qui vole à plus de 100 km/h
atelier sans fil (1)Modules radio déverrouillés : émetteur-récepteur sub-GHz CC1101 433 MHz
émetteur AMAvec le générateur d'ondes carrées/sinusoïdales sur Raspberry Pi Pico
STM32Cube Innovation ChallengeParticipez avec votre meilleur projet STM32C5
CoffeeCallerComment une pause café a inspiré un PCB sur mesure
audiotroniquesDistorsion harmonique totale
Elektor à 65 ansProjets de septembre et octobre au fil des ans
Bluetooth Channel Sounding pour le suivi des équipementsMesure de distance avec une précision centimétrique pour l’IoT de nouvelle génération
2026 : une Odyssée de l'IAL'informatique quantique n'est pas le prochain GPU
protéger le cloud exige de sécuriser la périphérie
premières expériences avec le HackRF ProTests pratiques avec le nouveau matériel SDR
mise à niveau du modem de GPRS/2G vers LTE/4GExemple d'un panneau de contrôle d'alarme sans fil
antenne en bouclePartie 1 : Une antenne ondes courtes à directivité réglable, à réaliser soi-même
convertisseur de radio Internet en AMUn ESP32-S3 comme émetteur
projet 2.0
mioty : aperçu généralL'approche de Fraunhofer pour les LPWAN
sagesse d'atelierConseils pratiques d'experts
Walter, le module IoT compactPartie 2 : Accéder aux services météorologiques et aux services de données
Über 45 Projekte für den legendären 555-Chip (und den 556, 568)
Der 555-Timer-IC, ursprünglich um 1971 von Signetics eingeführt, gehört zweifellos zu den beliebtesten analogen integrierten Schaltkreisen, die je produziert wurden. Ursprünglich als „IC-Zeitmaschine“ bezeichnet, wurde dieser Chip über Jahrzehnte hinweg in zahlreichen zeitgesteuerten Projekten verwendet. Dieses Buch befasst sich mit der Entwicklung von Projekten, die auf dem 555-Timer-IC basieren. Es werden über 45 vollständig getestete und dokumentierte Projekte vorgestellt. Alle Projekte wurden vom Autor selbst getestet, indem sie einzeln auf einem Breadboard aufgebaut wurden. Es sind keine Programmierkenntnisse erforderlich, um die im Buch vorgestellten Projekte nachzubauen oder zu verwenden. Allerdings ist es definitiv hilfreich, über grundlegende Elektronikkenntnisse und den Umgang mit einem Breadboard zum Aufbau und Testen elektronischer Schaltungen zu verfügen. Einige der Projekte im Buch sind:
Abwechselnd blinkende LEDs
Veränderung der Blinkrate von LEDs
Touchsensor-Ein/Aus-Schalter
Ein-/Ausschaltverzögerung
Lichtabhängiger Ton
Dunkel-Hell-Lichtschalter
Tonburst-Generator
Langzeit-Timer
Lauflichter
LED-Roulette-Spiel
Ampelsteuerung
Durchgangsprüfer
Elektronisches Schloss
Kontaktentprellung für Schalter
Spielzeug-Elektronikorgel
Mehrfachsensor-Alarmsystem
Metronom
Spannungsmultiplizierer
Elektronischer Würfel
7-Segment-Display-Zähler
Motorsteuerung
7-Segment-Display-Würfel
Elektronische Sirene
Verschiedene andere Projekte
Die im Buch vorgestellten Projekte können von den Lesern für ihre eigenen Anwendungen modifiziert oder erweitert werden. Elektronikingenieur-Studenten, Leute, die gerne kleine elektronische Schaltungen entwerfen, sowie Elektronik-Hobbyisten werden die Projekte im Buch sicher lehrreich, unterhaltsam, interessant und nützlich finden.
The XIAO ESP32-C3 board combines the ultra-compact form factor of the XIAO series with the full capabilities of the ESP32-C3 chip, including integrated Wi-Fi and Bluetooth 5.0. This book is a comprehensive, hands-on guide to getting the most out of this powerful yet affordable development board.
The author takes readers from the fundamentals to advanced projects. Starting with LED blinking and dimming, the book progresses to ADC and PWM for precise sensor interfacing and PWM-controlled lighting effects before moving on to building practical, real-world applications, including:
A Wi-Fi weather station with an OLED display and real-time online weather data
An ultrasonic parking assistant with audible feedback
A refrigerator monitoring probe with climate sensing and Deep Sleep for years of battery operation
A retro Pong game controlled by a touch-free sensor
A microphone-based party app that responds to claps
And much more: lighting control, reaction-time measurement, mains frequency analysis, soil moisture sensing, ambient LED lighting, and 7-segment displays
AI Projects for the Raspberry Pi with the AI HAT+
Edge AI is transforming everyday devices by putting intelligence where it matters most: directly inside the hardware. With on-device inference, a camera can recognize a visitor instantly, a phone can translate speech without streaming audio to the cloud, and a wearable can detect anomalies in real time—fast, private, and reliable even when the network disappears.
This book is your practical guide to building exactly those kinds of systems with the Raspberry Pi AI HAT+ and the Hailo-8L accelerator. You’ll start with clear foundations: core AI and machine-learning concepts, how neural networks work, and what truly distinguishes Edge AI from cloud AI—plus an honest look at ethical considerations and future impacts.
Then it’s straight to hands-on physical computing. Step by step, you’ll set up Raspberry Pi OS, power and cooling, and develop in Python using the Thonny IDE. You’ll learn GPIO basics with lights and servos, mount the AI HAT+ hardware, install and verify the Hailo software stack, and connect the right camera—official modules or USB webcams, even multiple cameras.
From your first pipeline to real projects, you’ll run person detection, pose estimation, segmentation, and depth estimation, then level up with YOLO object detection: smart alerts, guest counters, and custom extensions. You’ll even connect vision to motion by combining gesture recognition with servo-driven mechanisms, including a robotic arm.
With troubleshooting tips, hardware essentials, and a practical Python refresher, this book turns Edge AI from buzzword into buildable reality.
Hebt u altijd al uw elektronicaproject willen aansturen vanuiteen kleurrijke app op een Android smartphone of tablet? Dat is mogelijk met het in dit boek beschreven Android I/O-board. Met de bijbehorende software-library kunt u in Android Studio eenvoudig zelf een app programmeren die dit mogelijk maakt.
Het Android I/O-board (los verkrijgbaar, wordt niet met boek meegeleverd!) bezit 22 pennen die u vanuit een app kunt aansturen als digitale I/O, ADC, PWM, touch-sensing en counter. Het Android I/O-board kan met de Android smartphone communiceren via Bluetooth, WiFi of USB. Het board is ook als datalogger te gebruiken. Kortom, dit is een veelzijdig board dat in ieder project past.
Dit boek beschrijft stap voor stap hoe u uw project tot een succes kunt maken. Het boek behandelt gestructureerd de volgende onderwerpen:
Een snelle handleiding hoe u uw Android I/O-board up and running krijgt.
Een uitleg van alle mogelijkheden van het Android I/Oboard, met uitgebreide voorbeelden bij de verschillende opties.
Een stap-voor-stap handleiding hoe u een app kunt programmeren in Android Studio.
Een beschrijving van de firmware op het Android I/O-board en hoe u dit zelf met MPLAB-X kunt aanpassen.
Voorbeeld-projecten om inspiratie op te doen hoe u uw eigen project kunt aansturen met het Android I/O-board.
Praktische Anwendungen und Projekte mit Arduino, ESP32 und RP2040
Tauchen Sie ein in die faszinierende Welt der Regelungstechnik mit Arduino und ESP32! Dieses Buch bietet Ihnen einen praxisnahen Einstieg in die klassischen und modernen Methoden der Regelung, darunter PID-Regler, Fuzzy-Logik und Sliding-Mode-Regler.
Im ersten Teil lernen Sie die Grundlagen der beliebten Arduino-Controller, wie den Arduino Uno und den ESP32, sowie die Integration von Sensoren für Temperatur- und pH-Messung (NTC, PT100, PT1000, pH-Sensor). Sie erfahren, wie diese Sensoren in verschiedenen Projekten eingesetzt werden und wie Sie Daten auf einem Nextion TFT-Display visualisieren.
Weiter geht es mit der Einführung in Stellglieder wie MOSFET-Schalter, H-Brücken und Solid-State-Relais, die zur Steuerung von Motoren und Aktoren verwendet werden. Sie lernen, Regelstrecken zu analysieren und zu modellieren, einschließlich PT1- und PT2-Regelungen.
Der Schwerpunkt des Buches liegt auf der Implementierung von Fuzzy- und PID-Reglern zur Regelung von Temperatur und DC-Motoren. Dabei werden sowohl der Arduino Uno als auch der ESP32 eingesetzt. Zudem wird der Sliding-Mode-Regler vorgestellt.
Im vorletzten Kapitel erkunden Sie die Grundlagen neuronaler Netze und lernen, wie maschinelles Lernen auf einem Arduino eingesetzt werden kann. Im letzten Kapitel gibt es noch ein praktisches Beispiel für einen Fuzzy-Regler zur Stromeinspeisung ins Hausnetz.
Dieses Buch ist die perfekte Wahl für Ingenieure, Studierende und Elektroniker, die ihre Projekte mit innovativen Regelungstechniken erweitern möchten.
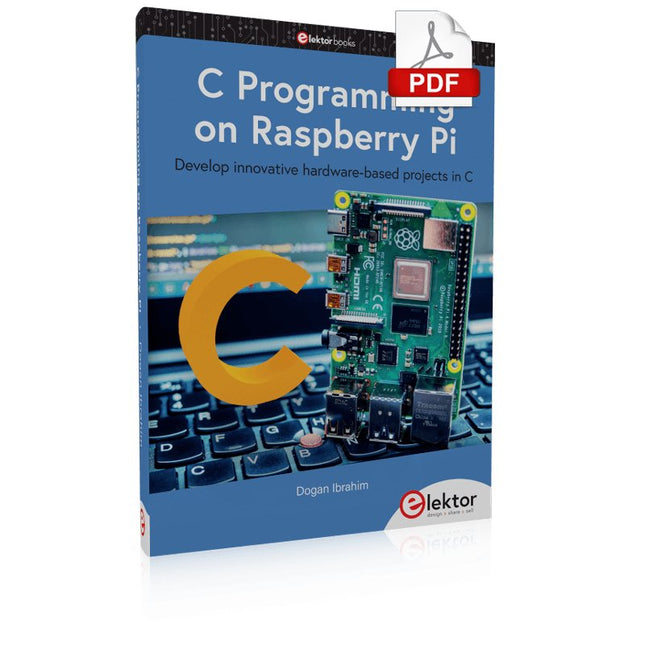
Develop innovative hardware-based projects in C
The Raspberry Pi has traditionally been programmed using Python. Although this is a very powerful language, many programmers may not be familiar with it. C on the other hand is perhaps the most commonly used programming language and all embedded microcontrollers can be programmed using it.
The C language is taught in most technical colleges and universities and almost all engineering students are familiar with using it with their projects. This book is about using the Raspberry Pi with C to develop a range of hardware-based projects. Two of the most popular C libraries, wiringPi and pigpio are used.
The book starts with an introduction to C and most students and newcomers will find this chapter invaluable. Many projects are provided in the book, including using Wi-Fi and Bluetooth to establish communication with smartphones.
Many sensor and hardware-based projects are included. Both wiringPi and pigpio libraries are used in all projects. Complete program listings are given with full explanations. All projects have been fully tested and work.
The following hardware-based projects are provided in the book:
Using sensors
Using LCDs
I²C and SPI buses
Serial communication
Multitasking
External and timer interrupts
Using Wi-Fi
Webservers
Communicating with smartphones
Using Bluetooth
Sending data to the cloud
Program listings of all Raspberry Pi projects developed in this book are available on the Elektor website. Readers can download and use these programs in their projects. Alternatively, they can customize them to suit their applications.
Open-Source-Code mit Arduino IDE und PlatformIO
Autonomes Fahren: GPS, Accelerometer, Gyroskop
PS3-Controller
Mikrocontroller wie der Arduino und Einplatinenrechner wie der Raspberry Pi haben sich zu beliebten Komponenten entwickelt. Dritter im Bunde ist der ESP32 der Firma Espressif. Mikrocontroller dieser Baureihe zeichnen sich durch eine Vielzahl implementierter Funktionen aus, die bei einem Arduino konventioneller Prägung mit einem Atmel-AVR-Mikrocontroller erst mit weiterer Hardware möglich sind. Prominentes Beispiel sind hier die WiFi- und Bluetooth-Funktionalitäten. Gegenüber einem Raspberry Pi zeichnen sie sich durch einen deutlich geringeren Preis aus.
Allgemeine Informationen für die Realisierung eines Roboterauto-Projekts mit dem ESP32 sind leicht zu finden. Dabei handelt es sich aber oft nur um Ausführungen zu einem Teilaspekt, ohne inhaltliche oder funktionale Abstimmung. So ist nicht nur die Beschaffung der benötigten Informationen mühselig und zeitaufwändig, sie kann auch außerordentlich fehlerträchtig sein.
Ansatzpunkt dieses Buches ist, diese Lücke zu schließen. Es geht auf verschiedene Möglichkeiten eines Chassis ein, vermittelt nötige Kenntnisse und führt schrittweise von einer einfachen Motorsteuerung zu einem komplexen sensor- und sprachgesteuerten Roboterauto. Hacks rund um GPS und eine PlayStation 3 runden die Sache ab.
Inhalt
Bei der Reihenfolge der Kapitel wurde versucht – beginnend bei der Darstellung von grundlegenden Informationen – über die Lösung einfacher Aufgaben zu etwas anspruchsvolleren Techniken zu führen.
Der Mikrocontroller ESP32
Die Software erstellen
Die Stromversorgung
Rund um die Hardware
Das Chassis
Der Gleichstrommotor
Kabellose Steuerung über WiFi
Mit Sensoren Hindernisse erkennen
Eine eigene Roboterauto-App
Servo und Lichtsensor
GPS
Accelerometer / Gyroskop
PS3-Controller
Roboterauto-App
Hinweis zur Software
Die Dateien haben das Suffix (.cpp). Grund ist die Entwicklung mit PlatformIO. Mit Copy & Paste sollten sie auch in der Arduino-IDE verwendet werden können.
An 8-in-1 test & measurement instrument for the electronics workbench
A well-equipped electronics lab is crammed with power supplies, measuring devices, test equipment and signal generators. Wouldn‘t it be better to have one compact device for almost all tasks? Based on the Arduino, a PC interface is to be developed that’s as versatile as possible for measurement and control. It simply hangs on a USB cable and – depending on the software – forms the measuring head of a digital voltmeter or PC oscilloscope, a signal generator, an adjustable voltage source, a frequency counter, an ohmmeter, a capacitance meter, a characteristic curve recorder, and much more.
The circuits and methods collected here are not only relevant for exactly these tasks in the "MSR" electronics lab, but many details can also be used within completely different contexts.